We’ve Perfected the Thin Crust Pizza
Give Homemade Crust a Chance
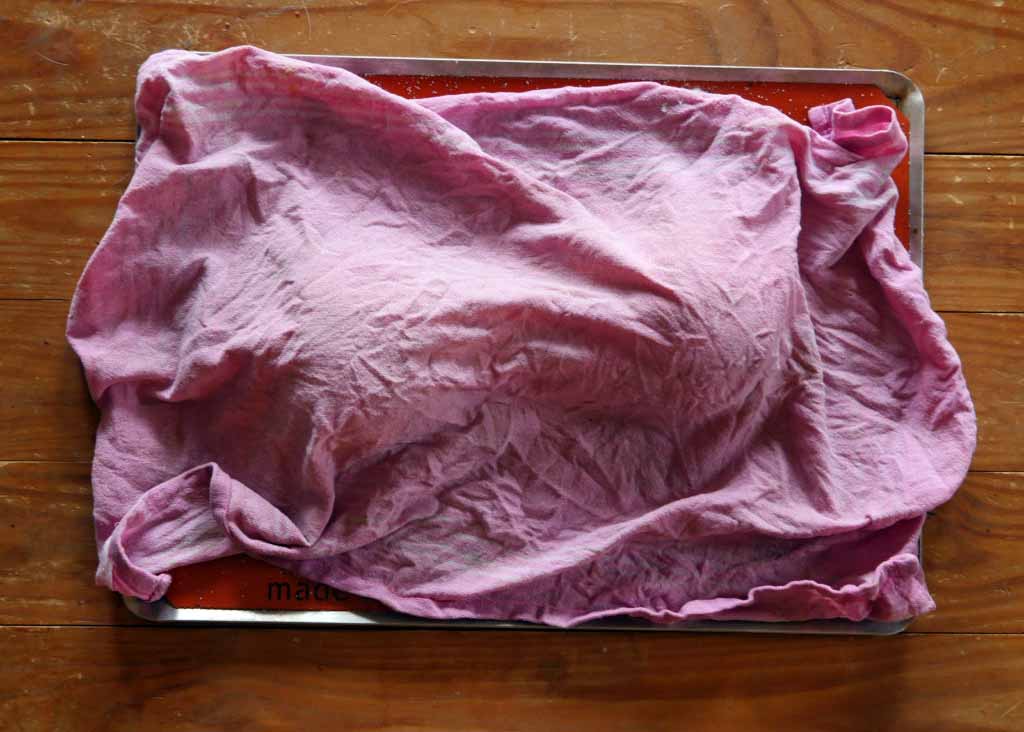
Making homemade pizza crust can seem intimidating at first, but its no different than any other bread. All it takes is a few ingredients, an accurate way to measure those ingredients and a quick knead before letting the crust rise over the next few hours in a warm location and covered by a damp cloth.
This crust can also be allowed to rise overnight in the fridge covered by a damp cloth. Keeping the crust moist and not letting it form a crusty skin on the outside is imperative to ensuring it doesn’t crack or split when it comes time to stretch it out and top it with your favorite ingredients.
Pizza Crust is Best When Kept Simple
One of the habits I’ve gotten into from making so much pizza at home is remembering to keep it simple, from not overworking the dough, to not doing anything fancy when stretching or rolling it out, to having a nice simple sauce and finally, to not overload the crust with toppings. Pizza is amazing because it’s simple and shouldn’t take too much effort.
The Trick is Vital Wheat Gluten
I found in the beginnning that the normal pizza crust recipe simply calls for all-purpose (AP) flour or “00” ultra-fine baking flour, salt, warm water, yeast and olive oil. However, I’ve since learned that the addition of some vital wheat gluten into the flour mix gives the finished product a greater elasticity and stretch, which makes the dough easier to work with. This is because gluten is comprised of mostly protein and acts like a glue in the dough, keeping everything together.
A Quick Chemistry Lesson on Dough
Keeping the dough moist while it rises allows the yeast to start muching away on the carbohydrates in the flour and protein in the gluten, using the fats in the olive oil for starter energy. As the yeast is munching away on the flour and gluten molecules, they release carbon dioxide gas into the dough.
The carbon dioxide bubbles in the dough are what causes the dough to rise, and when the crust is baking, those bubbles are what makes our pizza crust so crunchy on the outside, but with the perfect amount of chew and soft texture on the inside. Adding vital wheat gluten to this pizza dough was really a breakthrough in our kitchen adventures.
Time to Prepare the Pizza Crust for Topping
Once the crust has risen for at least three to four hours (the longer the better) it’s time to stretch it out. Don’t get intimidated by stretching it, just pick the dough ball up and lay it over the back of your hands, using your knuckles to turn the dough and letting the weight of the dough stretch itself. Tossing the dough into the air to get a disc shape is a move best left to the professionals. If picking it up and using your hands isn’t quite your comfort level yet, just lay the dough out on a floured surface and use your rolling pin to roll the crust into the desired size and shape.
Don’t Overload on the Toppings
Once you have the dough rolled out, put a layer of sauce and your toppings on the pizza. Keeping the toppings light is important for two reasons:
It’s easier to get the pizza off the pizza peel and onto the pizza stone
If you put too many toppings on, the crust can remain soggy in the middle.
So keep the toppings light, ideally eight ounces or less per pizza. You will thank yourself later because there’s nothing worse than getting the crust done, pizza overloaded with toppings and watching the top heavy pizza turn into a indescribable mess in a super-heated oven (speaking from personal experience). TAvoiding this will help ensure everything cooks thoroughly and the crust gets nice and crispy all the way around. Pulling a perfectly done pizza out of the oven, with a golden ring and a light char in areas makes the whole process fulfilling to the mind and stomach.
Your Oven and Pizza Stone Should be HOT
Getting the crust baked to a perfect golden-brown, accompanied by slight areas of burnt char with a crusty outside but chewy inside requires getting your oven and pizza stone as hot as possible. With today’s modern ovens, most don’t heat up higher than 500 degrees, but if yours happens to go higher, turn it up all the way and make sure to allow the pizza stone to pre-heat for one hour after the oven has fully heated. Getting the pizza stone as hot as possible means the pizza will cook faster and more evenly, resulting in a amazing crust.
Having the Right Tools Helps Immensly
A word about the two necessary tools to perfect your own pizza crust.
First, you can’t make delicious home made pizza without a pizza stone. If you want great pizza invest in a good quality pizza stone, there’s no way around it. Having a pizza stone also means you can bake some breads and delicious goodies right on the stone, getting a golden and crunchy crust on everything. My pizza stone has lasted me years and only requires a good cleaning once a year.
Second, buy a pizza peel that fits to the size of your pizza stone, usually around twelve or thirteen inches wide. A pizza peel is the tool you stretch out your dough and top your pizza on. It is also the tool that transfers your pizza onto the pizza stone in the oven and retrieves it when it’s toasted perfectly and ready to eat.
When I started my pizza journey, I improvised a pizza peel using a flattened cardboard box. Did it work – yes, was it ideal – no, did it collapse once or twice and ruin dinner – yes. A cardboard box also soaks up the oil from the pizza and becomes un-recyclable, so in trying to divert as much waste from the landfill as possible I realized a proper pizza peel was a necessity. I spent a little bit of money and got a handcrafted wooden pizza peel. A nice solid pizza peel allows you to move the uncooked pizza smoothly onto your pizza stone, and will make getting the finished product out of the oven easy as can be.
Martha Knows Best
One last tip I learned from an accomplished master chef (Martha Stewart knows how to get down): When you are getting ready to put the stretched out dough onto your pizza peel, use a sheet of parchment paper between the peel and the dough. It makes sliding the topped pizza onto the stone so easy, it takes very little effort and also catches any wayward oils or fats that drip off the crust. When you remove the pizza from the oven, just take the parchment paper off from underneath and your pizza will be good to go.
Easy Thin Crust Pizza Dough
2
servings25
minutes7
minutes4
hours30
minutesMaking homemade pizza crust can seem intimidating at first, but its no different than any other bread. All it takes is a few ingredients, an accurate way to measure those ingredients and a quick knead.
Ingredients
274 grams flour
32 grams vital wheat gluten
8 grams salt
2 grams yeast
10 olive oil
200 warm water
dusting cornmeal or flour
Directions
- Combine dry ingredients (flour, vital wheat gluten and salt) in large bowl
- In a seperate bowl, combine the yeast, olive oil and warm water. Whisk briefly.
- Combine wet and dry ingredients.
- Knead dough 3-5 minutes until dough is moist and sticky but comes clean from your hands.
- Cover dough with wet cloth and let sit for 15 minutes.
- Uncover dough and knead for an additional 5 minutes.
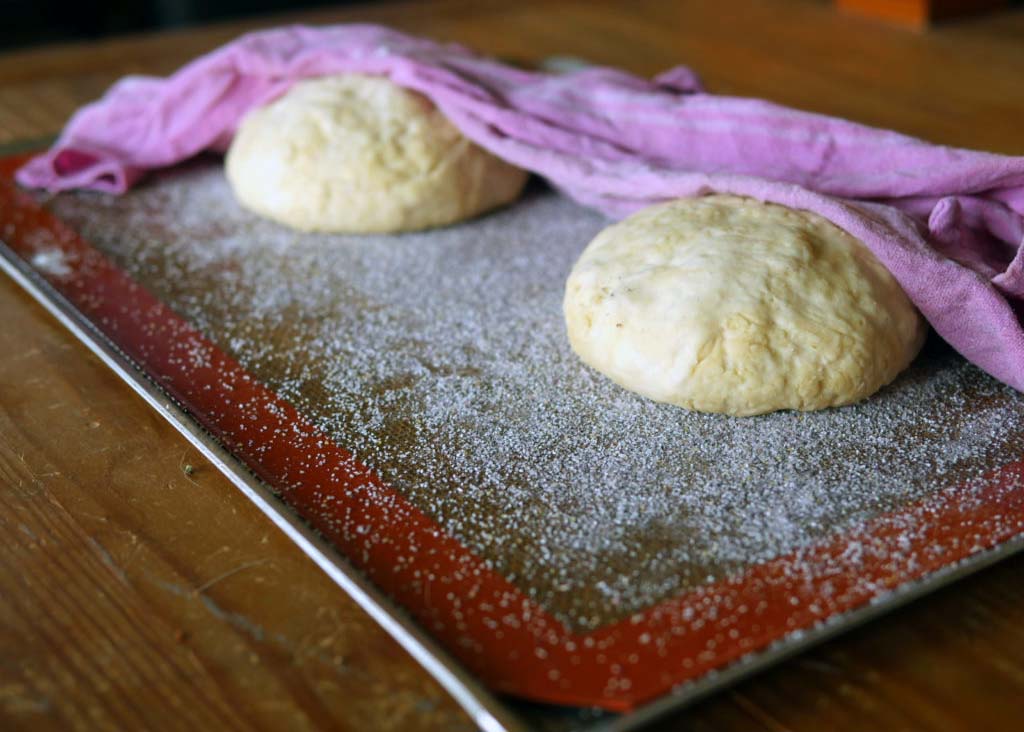
- Seperate into two balls of dough. Place balls of dough on cornmeal (or flour) dusted surface. Cover with room-temperature damp towel and let rise 4-5 hours. (Or in the fridge for up to 24 hours, if towel is kept damp).
- Stretch out dough, top and bake for 7-10 minutes.
SHARE YOUR DISH ON INSTA
Tag @roaringspork on Instagram and hashtag it #roaringspork
SHARE YOUR DISH ON FACEBOOK
Follow us on Facebook
Great for a traditional neopolitan pizza!
Thank you Holly!